4 Tips For The Best Fresh Bread From Your Oven

There are few things as satisfying as a fresh, warm slice of bread. Anyone with an interest in the baking and pastry arts should explore making their own loaves at home. When you master bread-making, you can prepare a wide range of varieties to suit any meal or occasion.
Here are a few tips to get the best results in your homemade bread.
1. Weigh the ingredients
“It’s vital to have the right proportions, so measure everything.”
There are many recipes where you can get away with eyeballing the ingredients. That’s not the case with bread, which can have significant variations in texture, taste and yield. It’s vital to have the right proportions, so measure everything out before you mix the dough.
While a set of dry measuring cups can do the job, Serious Eats recommended taking your precision a step further by using a kitchen scale. Depending on how tightly packed elements like flour are, it can make a huge difference in volume-based measurements and the final product. If you’re after consistent results in your bread, a quality scale is a must.
2. Mix with care
Once you’ve measured out your ingredients, it’s time to bring them together. Mixing and kneading the dough are extremely important parts of the process, since they determine the bread’s structure. Epicurious noted that you may complete these steps by using a bread machine, a stand mixer or a food processor, or you can mix by hand.
If you have a stand mixer, first combine water and flour, mixing at a low speed. Cover with plastic wrap and let stand for at least 15 minutes before mixing in salt and yeast. Increase the mixer speed to medium-high for three to five minutes to develop gluten, as you would by kneading with your hands.
3. Allow time for proofing
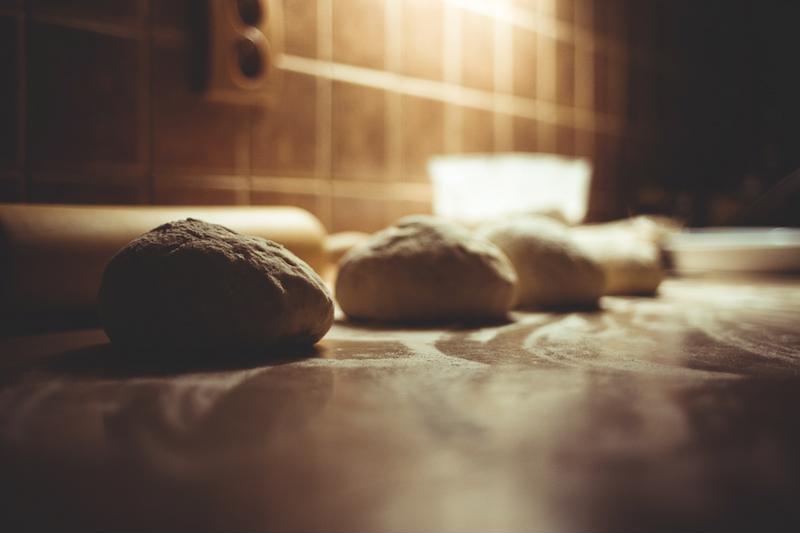
Next, the dough needs time for bulk fermentation, which is when yeast does the work of adding flavor to your bread. Rub vegetable oil on your hands and lightly coat a mixing bowl before transferring the dough and covering with plastic wrap. Wait half an hour, and then fold the dough to distribute out the yeast while helping the gluten form the desired structure.
Moisten both your hands and a spatula, scraping around the bowl’s edges to keep the dough from sticking. Then, gently fold the dough on each side and cover again for another half hour. After another round of folding, you’ll wait for 45 minutes or so for the bread to rise, becoming nicely soft yet springy.
After the dough rises, move it onto a floured surface and form into a ball. Add flour to the top and rest for 15 minutes. Round out the dough again, and shape so there is a smooth seam at the bottom.
Move to a bowl lined with a floured linen and refrigerate for an hour to complete the final proofing. The dough will be almost twice the size by the time it’s ready.
 Carefully supervise your bread while it bakes.
4. Watch the oven
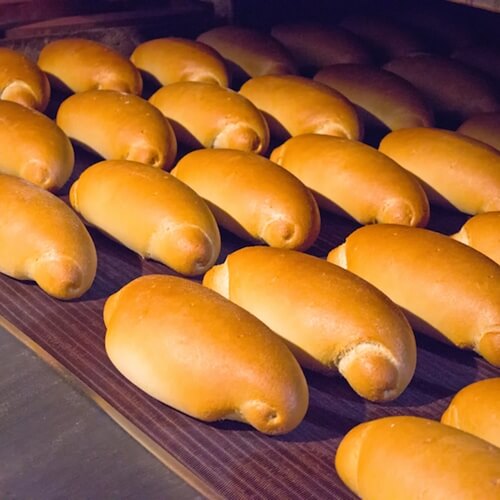
Perfectly baking your loaves of bread calls for close attention and the right timing. Set the oven to 500 degrees Fahrenheit and warm a large, heat-proof dish. Place a loaf in the dish, scoring it with a knife and lightly spraying with water.
Cover and bake for 15 minutes. Reduce heat to 450 degrees for another 15 minutes. Take off the lid and bake for up to 20 more minutes, watching for the crust to become nicely browned. Set on a wire rack to cool for an hour before slicing and serving.
For anyone interested in attending culinary academy, learning to bake your own bread is an important skill. With some practice, you can customize your loaves with a range of delicious ingredients.


