4 More Tips For Great Food Photos

In a previous post, we discussed the importance of light, composition and setting in taking exceptional pictures of food. However, there are other considerations that go into taking blog-ready food photos. When you’re showing off all that you have learned in culinary arts programs, follow these tips to ensure your creations look irresistible:
1. Steady the camera
Avoid blurriness and awkward angles by using a tripod. In addition to getting clearer images, you’ll also be able to make small adjustments to your subject, like relocating a garnish or silverware, without altering the camera position. Photographer and blogger Matt Armendariz explained to Bon Appetit why this simple piece of equipment can go a long way in improving your results.
“Without one, the camera will move in your hands,” he said. “This frees you up to use various different light sources of varying degrees of intensity.”
2. Show the process
You may be focused on taking great shots of the final product, but documenting how you got there can be interesting and helpful as well. Readers have a better chance of learning how the food was made if they can see some of the most important steps. They may even be inspired by your example to try out a new technique in their own kitchens.
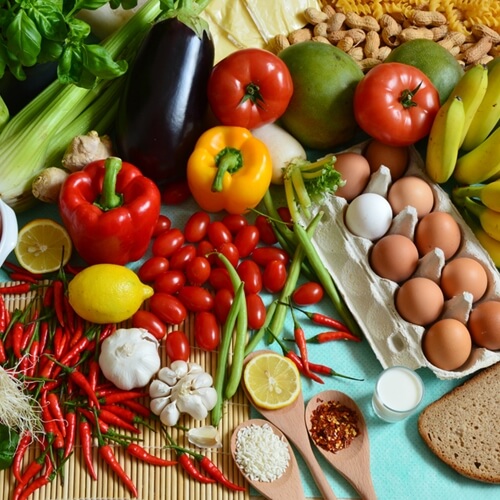
Digital Photography School suggested including pictures that show off the raw ingredients and each of the major phases in preparation. This way people can clearly see all the tantalizing vegetables and spices that went into your dish. Plus, sometimes food looks even better while it’s still cooking than it does when it is done.
3. Keep it fresh
Of course, fresh, vibrant-looking ingredients will translate better when photographed than produce that has passed its prime. By the same token, as BBC Good Food pointed out, you’ll face diminishing returns if you leave food sitting out too long awaiting its close-up.
Still, just because the process took a little longer than anticipated doesn’t mean all is lost. If a piece of meat starts to look too dry, you can rejuvenate it by adding a light brush of oil. For fruits and vegetables, try a spray of water.
4. Adjust your camera’s aperture
Mastering food photography means gaining a strong understanding of how to use your camera’s settings. Aperture determines the diameter of the lens opening and therefore how much light reaches the image sensor. It’s important to balance this setting with the shutter speed. In general, the wider your aperture, the faster you can set your shutter, which means you can take clearer pictures.
Michael Natkin of the blog Herbivoracious explained to the Kitchn that a wider aperture is usually best for food photography. This allows you to create a shallow field, placing a particular piece of food or ingredient in sharp focus. Using a medium focal length macro lens will help you to take detailed close-up photos with an open aperture.
When you learn to cook online, sharing your accomplishments is one of the most enjoyable parts. With some basic equipment and techniques, you can take fantastic pictures of your cooking and let the world see what you can do.


