
The magic of sourdough starters
When starting a batch of bread today, many bakers use packets of active dry yeast. In a small pool of lukewarm water, promising bubbles prove the organisms are living and ready to raise your bread. Obtaining strong yeasts for baking wasn’t always so easy, though.
Before commercially produced yeast strains became widely available, bakers needed to cultivate the wild yeasts around them. Yeasts are found in every environment, and perhaps most importantly, in every bag of flour. To capture and use wild yeasts, bakers needed to create the right environment – this is the sourdough starter.
The use of sourdough starters for baking dates back to the days of the ancient Egyptians, The Sourdough School explained. It was the primary method of baking all bread until the 19th century when commercial yeasts were mass produced and distributed. But using sourdough starters isn’t an outdated method; it’s a traditional technique that online pastry students can use to produce unique, flavorful breads, pancakes, muffins and countless other goods.
How to make a sourdough starter
Some people are lucky enough to be given a sourdough starter from someone else. These starters may be years or decades old – NPR noted that one woman received a starter as a wedding gift, a piece of family history handed down for generations.
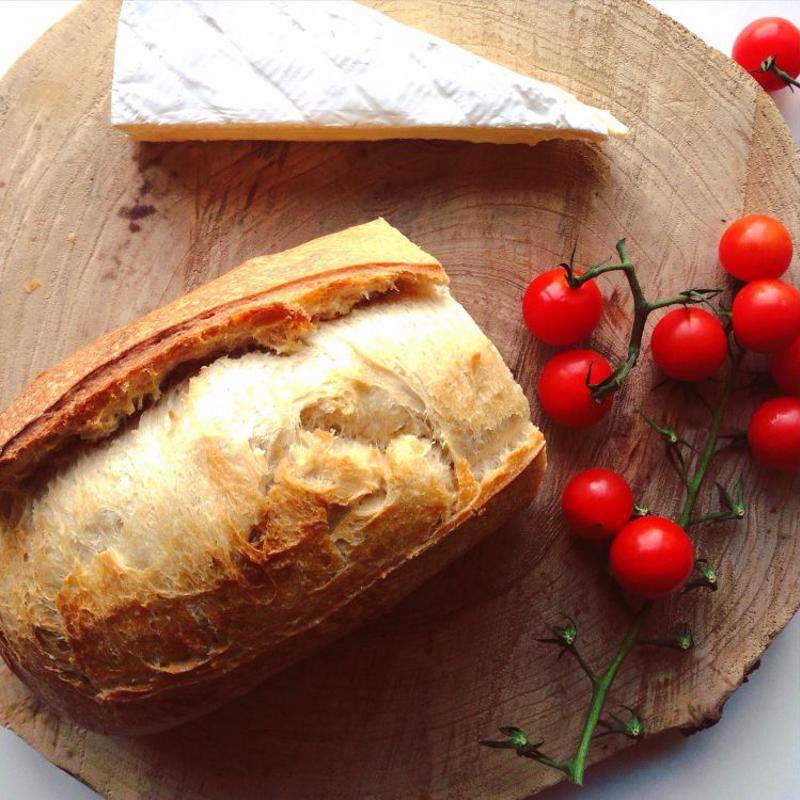 Sourdough starters can be passed down from generation to generation, or created using flour and water in your kitchen.
However, for those bakers who want to use wild yeasts but don’t have the benefit of sourdough-cultivating family, a starter is two easy ingredients away: flour and water. The key element, though, is timing.
Day 1
To start, mix 1 cup of rye or whole wheat flour with ½ cup of non-chlorinated water, King Arthur Flour recommends. Stir it completely, so every bit of flour is moist. Loosely cover the container and let sit at room temperature – preferably around 70 degrees Fahrenheit – for a day.
Choose your container wisely. Your sourdough will live here indefinitely, so select something you won’t need for another project and that’s food safe. Food-grade plastic works well, as does glass or stainless steel.
Day 2
The next day, you might see your yeast start bubbling, but don’t worry if you don’t. In any case, discard half of the starter and add another scant cup of flour and ½ cup of water. Again, mix thoroughly, loosely cover and let sit for 24 hours.
Throughout the duration of keeping your sourdough starter alive, you’ll discard half of your starter every time you feed it. After numerous repetitions, you might start to lament the amount you’re “wasting.”
However, this step is essential: If you don’t discard any starter, you’ll wind up with far too much to use. Additionally, beginning at the same volume of starter each time helps to maintain a consistent pH, an important aspect of delicious sourdough recipes. Finally, consider the amount of hungry yeast in 4 ounces compared to 8 ounces of starter – feeding an ever-growing pool of yeast will require more and more flour each time.
Day 3
Your starter should have grown since you last fed it, and it should have a pungent aroma that smells somewhat fruity. Repeat the steps from the day before – discarding half, then mixing in fresh flour and water. Feed your starter again in 12 hours. From now on, unless your starter is “hibernating” in your refrigerator, you’ll feed it twice a day.
Day 5
By the fifth day, your starter should have a stronger, tangier aroma. It should also be doubling in size between feedings. If it isn’t, don’t worry; you may just need a few more days. Continue feeding twice a day until it is doubling in size and very bubbly at feeding time. This means it’s ready to use. Instead of discarding half your starter, you’ll use this in your sourdough recipe. Once you’ve removed the amount you need (no more than 8 ounces), feed your starter as usual.