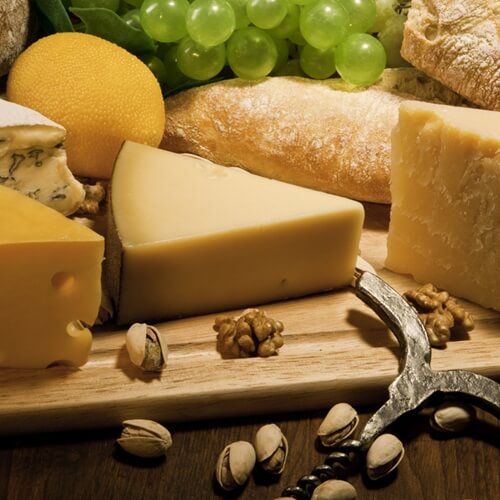
How To Assemble a Cheese Tray
Cheese trays are a classic and simple appetizer perfect for parties or tastings. However, there is a good way to create a plate that will wow the guests’ palettes and keep them coming back for more. You’ve probably gained a solid knowledge of how to create a cohesive dish while attending culinary school online, but here are a few specific pointers:
One of each
Include at least three cheese options that are from each of the following categories; hard, soft and blue. An aged, hard cheese might include Parmesan, a soft could be brie and gorgonzola may cover the blue category. Of course, you have many options to choose from.
Create a theme
While designing a theme isn’t necessary to have a perfect cheese tray, it certainly makes it more interesting. For example, choose hard, soft and blue cheeses that are all from Italy. Then pair them with Italian wine. You could also pick a letter and find cheeses that begin with that letter. You could even make a game out of having your guests taste test the cheeses and guess their types.
Include complementary components
Your cheese tray doesn’t have to be exclusive to cheese. Add grapes in one corner of the plate and a chutney – which pairs well with hard cheese – in the center. Think of other items that will enhance the flavor of the cheese you’ve included and add them to the dish. Suggest to the guests that they create a bite using the different elements you’ve provided.
Add levels
When you plate a dish you’ve cooked, you try to add height levels. You can do the same with your cheese tray. Different components should be spread out both vertically and horizontally. For example, you can serve fig jam in a tall bowl and set it next to a wedge of cheese. Artisan crackers may lay flat next to a bunch of grapes. This makes the plate more visually interesting.


